
Since becoming a stay at home mom, we have learned many ways to create cheap entertainment.
This experiment was really a lot of fun. Although I am not really a fan of Salt Dough, simply because of the texture, (its a gritty, dry your hands out really bad texture) it was still so much fun. My little boy was 3 at the time of doing this, so this really is something little kids can get excited about doing. I would suggest using some rubber gloves to prevent the food coloring from getting on your hands, an apron to cover their clothing, and a huge sprinkle of patience- because they will want to do it all by themselves at first.
When we were all done, we simply stored our dough in zip lock bags, and used them again and again for about a week before I tossed it. You could, however, set the dough in the oven at a very low temp to create a really fun keepsake, Christmas ornament or even cute coasters for your sweet tea!
First, to make things easier for little hands, if you pre-measure everything and have it all together and ready to pour, it will make things so much easier and less stressful.

Next, I had my son pour all the flour and salt into the big empty bowl and mix. Then I slowly started pouring in the water and had to take over the mixing when it started getting stiff and difficult for little hands.


Once we had everything all mixed together and at the right consistency, we divided the dough up into 4 balls and placed in smaller bowls. Then we added a few drops of food coloring to each bowl. We put them in separate bowls to keep the colors separate, and only added one color per bowl. Notice the nifty rubber gloves? Those things really do come in handy in times like this.
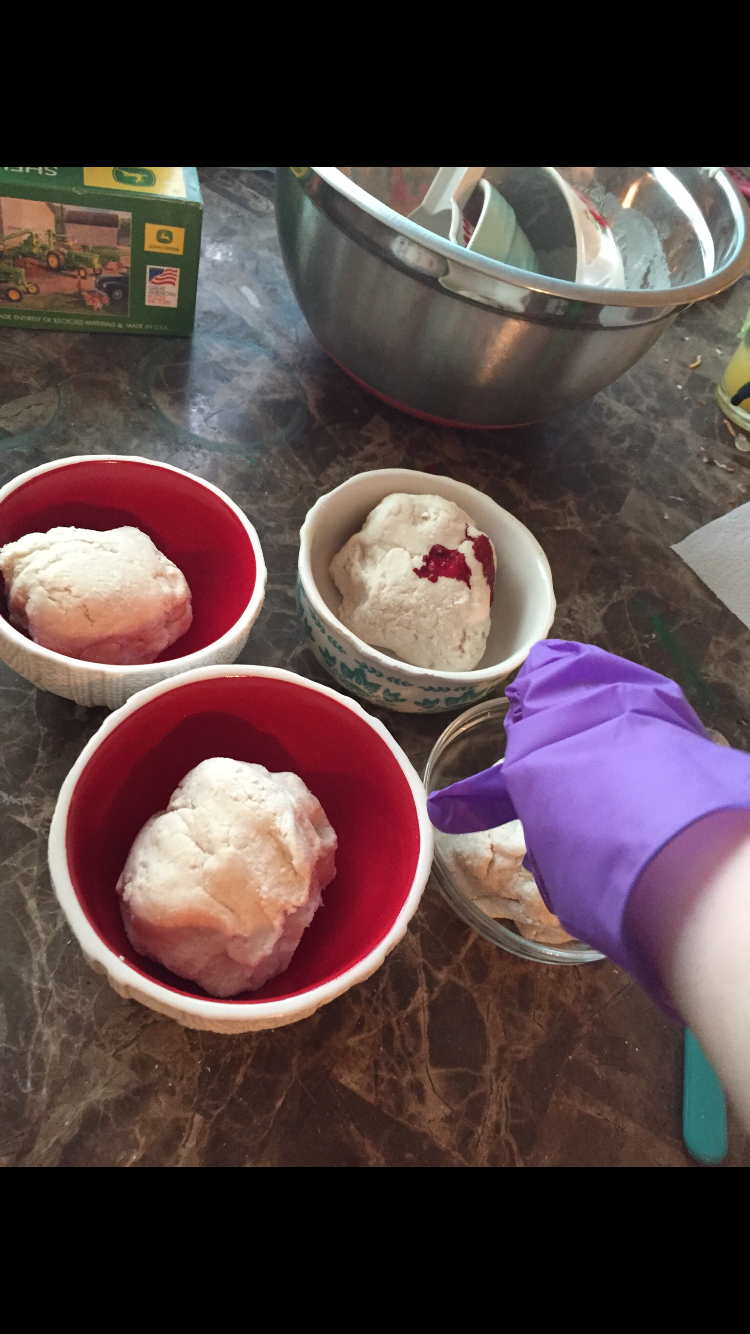
Once we added the food coloring, we mixed the food coloring in very well by kneading each ball separately. You can lay down some wax paper, or set on a baking sheet as well to help control the mess. We usually don't, and it really shows on my table. I usually have paint stains on my table more often than food due to all of our crafting. My sweet husband thought we were buying a diner table, that was so cute, little did he know that table would forever be covered with crafting supplies!
This is our finished product. The color didn't really mix as well as I expected, but we were pleasantly pleased with the pastel colors we made.

Once we were done making our play dough we had to try it out. We had fun using our Christmas cookie cutters. This is a very dry dough, and seems to crack easily. There are other recipe's out there that include oil or cream of tartar (neither of those were in my pantry at the time), and I'm sure they would work much better. We will have to try those other's and let you know the difference. But, as you can see, this was a lot of fun.

This is the recipe we followed:
2 Cups of Flour
1 Cup of Salt
1 Cup of Water
Food Coloring
Instructions:
We mixed together the flour and salt and gradually started adding in water until it became a play dough like consistency. If you get too much water and its really sticky, just add a little bit of flour and mix until it becomes a play dough like consistency.
After we had it all mixed up, we separated into small balls and then added a few drops of food coloring to each ball. Then we rolled it and kneaded it until all the food coloring was mixed in. The colors never really got too bright, and the more you add the more sticky the dough becomes. We decided the light colors were just fine and worked for us.
You can use cookie cutters, lids, cups, butter knifes, and all kinds of things to make patterns, shapes and texture to the dough.

No comments:
Post a Comment